Have you ever seen that part in Talladega Nights where Ricky Bobby is doing the commercial and he doesn't know what to do with his hands so he keeps putting them by his face? Well, I swear my daughter is like Ricky Bobby...her hands are constantly by her face. She scratches herself and pulls her pacifier out of her mouth all the time and it drives me nuts! She's six months old and I still have to swaddle her for her to fall asleep. I do the
double swaddle technique because she's too big for any other type of swaddle and then put her in an arm-less fleece sleep sack. Well, it may be February but it is HOT here, and my little girl is like a heater. She's usually so sweaty when she wakes up. So during her nap today (with the A/C going full blast) I whipped up this no-pattern sleep sack using an old t-shirt. Here's how I did it:

Ignore the green shirt on the left. I was going to make two sleep sacks, but apparently I sew too slowly and my kids woke up from their naps early (both of them...it's like they plot and scheme these things). You need a t-shirt and a baby shirt to use as a sort of pattern. I chose the pink shirt because for one thing, I never wear it, and for another it's long and narrow.
Cut the shirt along the seams until you have two panels. Sorry 'bout the cat. She loves to lay on/walk on things when I'm cutting with sharp scissors.
Line up the baby shirt with the back panel and cut to the size of the top of the shirt.
Repeat with the front panel. I left a little more room because the neckline isn't as stretchy as a regular t-shirt and, well, my baby has a big noggin. When you're done, sew the panels together, leaving the bottom open. I also trimmed the bottom edges before sewing together but you don't have to.
Grab some elastic, or if you're like me and are too lazy to go to the store and get some, you can use the top elastic part of little girl's tights. It also happened to be just the right size (these were 18-24 month size). Just cut one end so it is a long strip.
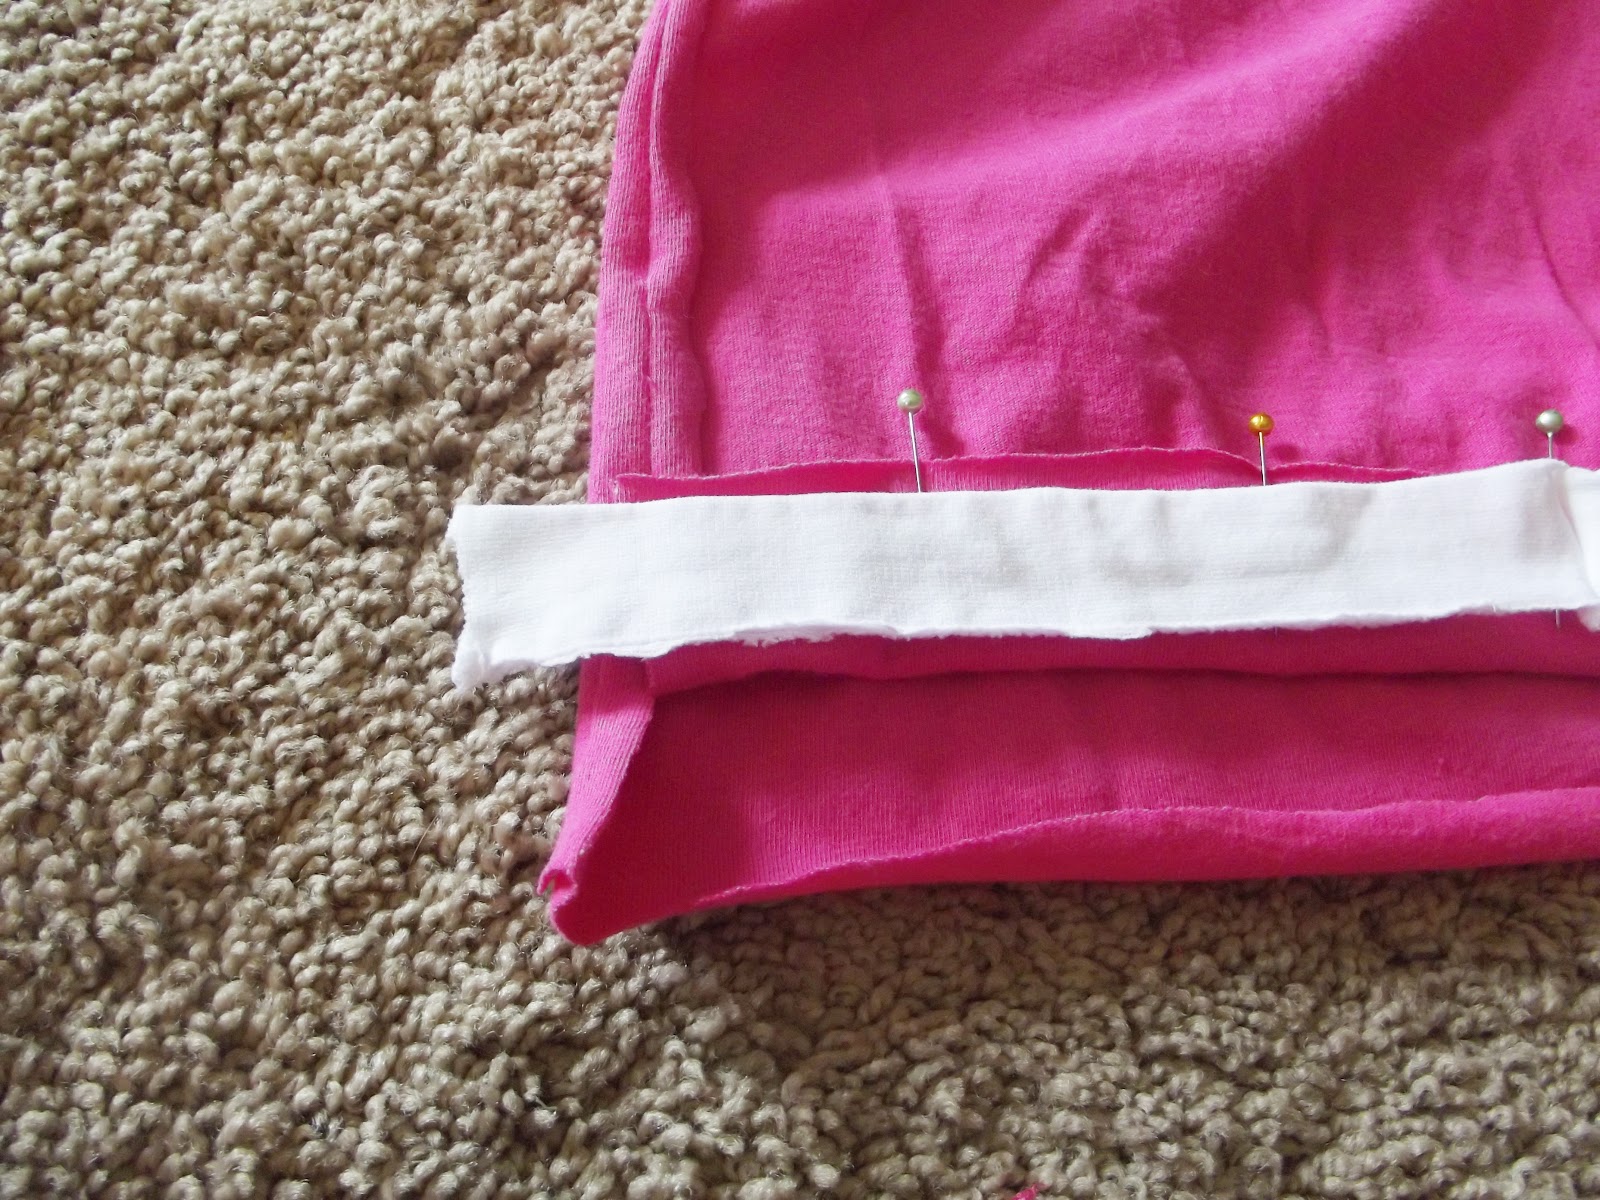
With the wrong side facing out, fold the bottom of the shirt up so it covers the elastic plus a centimeter (more or less) more and pin.
Pin all the way around the shirt (I found it helpful to cut about three inches up one side of the shirt because I was dumb and didn't leave a space). Sew the edges in place.
Using a pen or another long, skinny object, push the elastic all the way through the opening until it comes out the other side. Sew the elastic pieces together and then sew together the side.
Place your adorable baby inside the sack and stop worrying about Ricky Bobby hands knocking out the pacifier and pools of sweat on your baby's back! Jersey material is very forgiving and easy to work with, so this is a perfect "experiment" project. It doesn't have to look perfect (and trust me, mine doesn't!).